
Raising the trusses - Shed build part 5
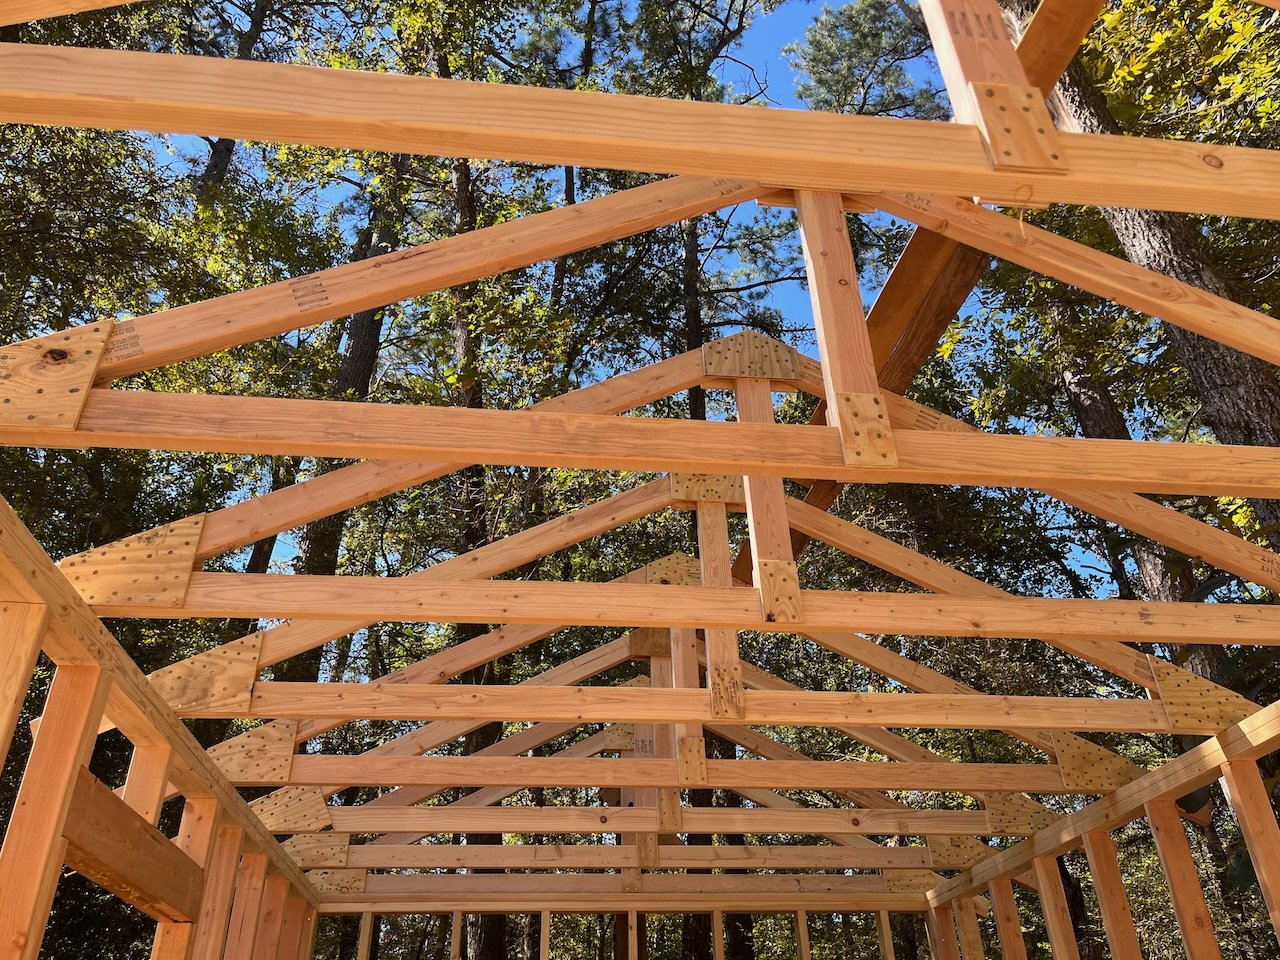
Shed trusses seen from below
I’m enjoying the build so far but I have to admit, assembling the trusses was a pretty miserable experience. We were working at night and it was very damp and cold, my least favorite conditions for doing anything outside. I’m so relieved to move on to raising the trusses and finally getting a roof over this building!
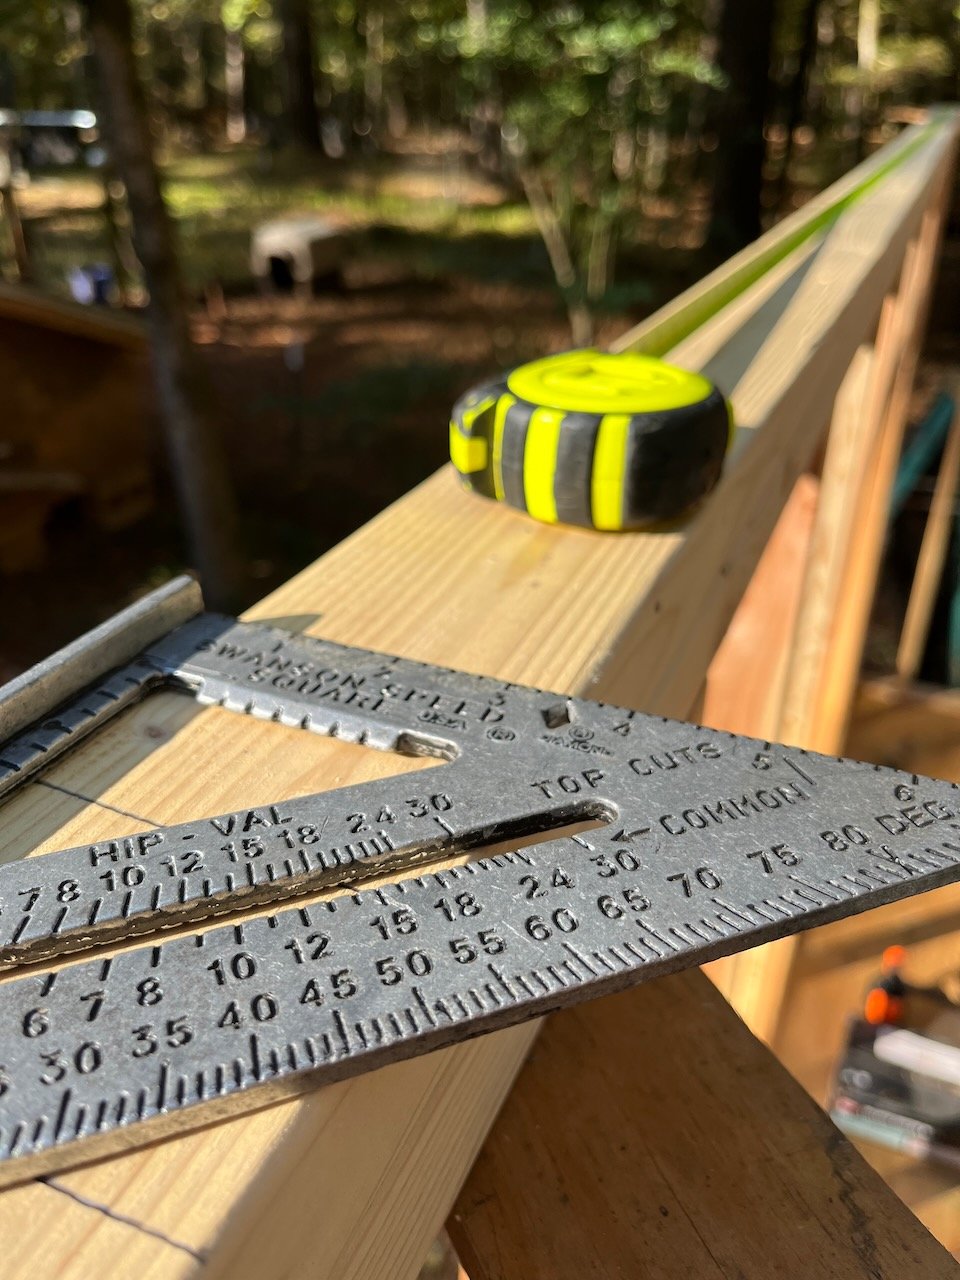
Marking the truss positions on the top plate
Raising the trusses is definitely a two-person job so I’ll have Donna helping me. If I didn’t have a choice, I could come up with a way to raise the trusses by myself and it would most likely be much slower and more difficult.
To start, we’ll need to mark the truss positions on both top plates. This is a simple process of measuring and marking. I use a speed square to make two marks which are spaced the thickness of the truss bottom chord plus the gussets. With the two markings we can easily see the truss position from either side before nailing.
We’ll need two ladders positioned on opposite walls where the trusses will rest. We’ll start with the truss on the far, back end of the building. I left a bracing board in place at the center of the back wall. I had scabbed this board in for the ridge pole for my temporary roof. This board will allow us to hold the first truss plumb with a clamp and some shims.
To get the truss up on the top plate, we each lift one end and carry the truss upside down. Donna took her end up their ladder, lifting the truss to get the top chord over the wall and make clearance for my side. Once she was in position, I was able to carry my end up to the top plate, then pull the excess overhang from her end back in my direction. With the truss hanging roughly even between the two walls, you can let it temporarily hang in this position without support if you need to adjust your ladder or rest your arms.
With the truss relatively close to its final position, we flip it right-side up and nudge it precisely where we want it to rest. Once we’re satisfied with the alignment of the truss, I nail my side to the top plate. Next, I move to Donna’s side and nail it to the top plate.
I use a bubble level to check for plumb and adjust the truss accordingly. I use a c-clamp and shims against the scabbed brace I mentioned earlier to hold this truss plumb. I add a scrap strip of 23/32” plywood to the top of this anchor truss support the others as I work down the building. I ended up using three scrap strips of plywood to cover the 16’ span of trusses.
After the initial truss is in place, it’s just a matter of rinse-and-repeat down the building until all 9 trusses are standing and braced in position.
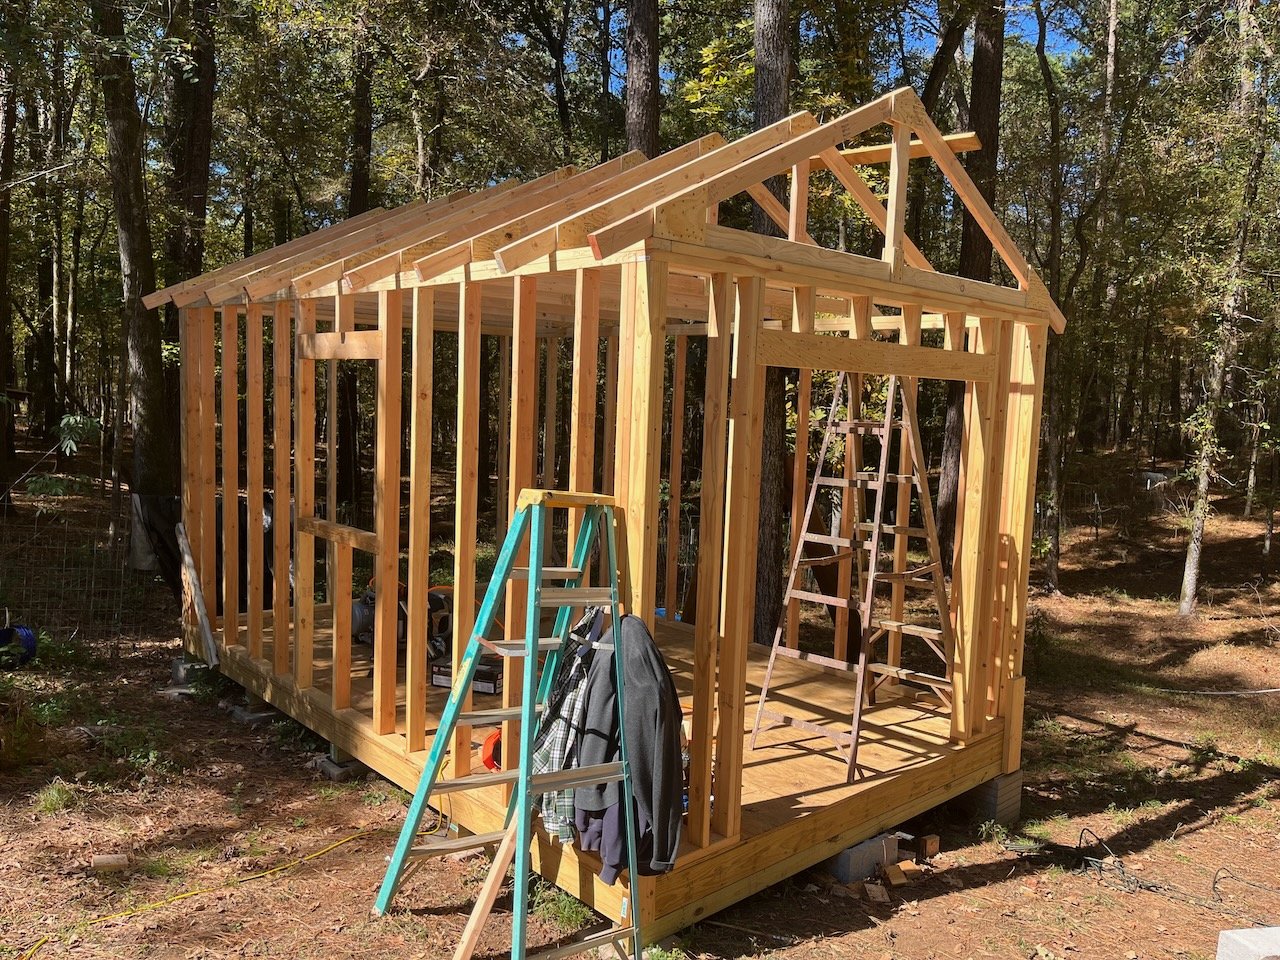
All of the shed trusses standing in their proper positions
I added two rows of purlins, top and bottom, on both slopes of the roof. I was hoping to get the sheathing and tar paper on before the next rain storm but everything was taking longer than expected and I knew I wouldn’t make it. I opted to re-apply the tarps and staple them snuggly in place. It looks like it will keep most of the rain off the building until I have the opportunity to complete the roof.