
Sunday in the garden
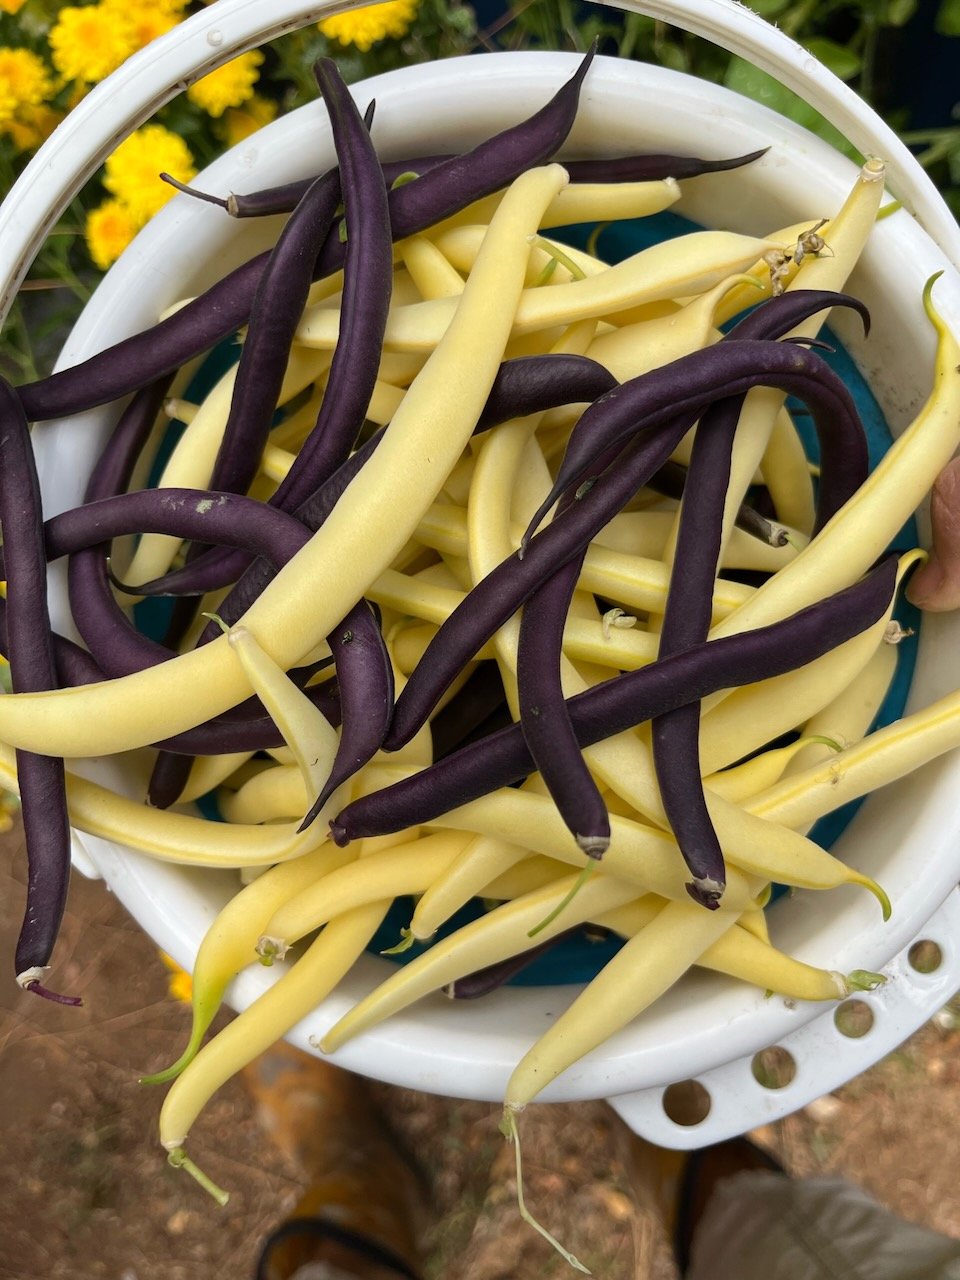
Freshly harvested Cherokee Wax and Royal Burgundy beans
Last Sunday I had a lot of random garden chores to do. I started off by picking a bucket of beans. I love the Cherokee Wax variety and will continue to plant these every year. We had a cold snap a week ago and I thought I would lose my plants, but I was lucky that they survived. In fact, they look very healthy and happy.
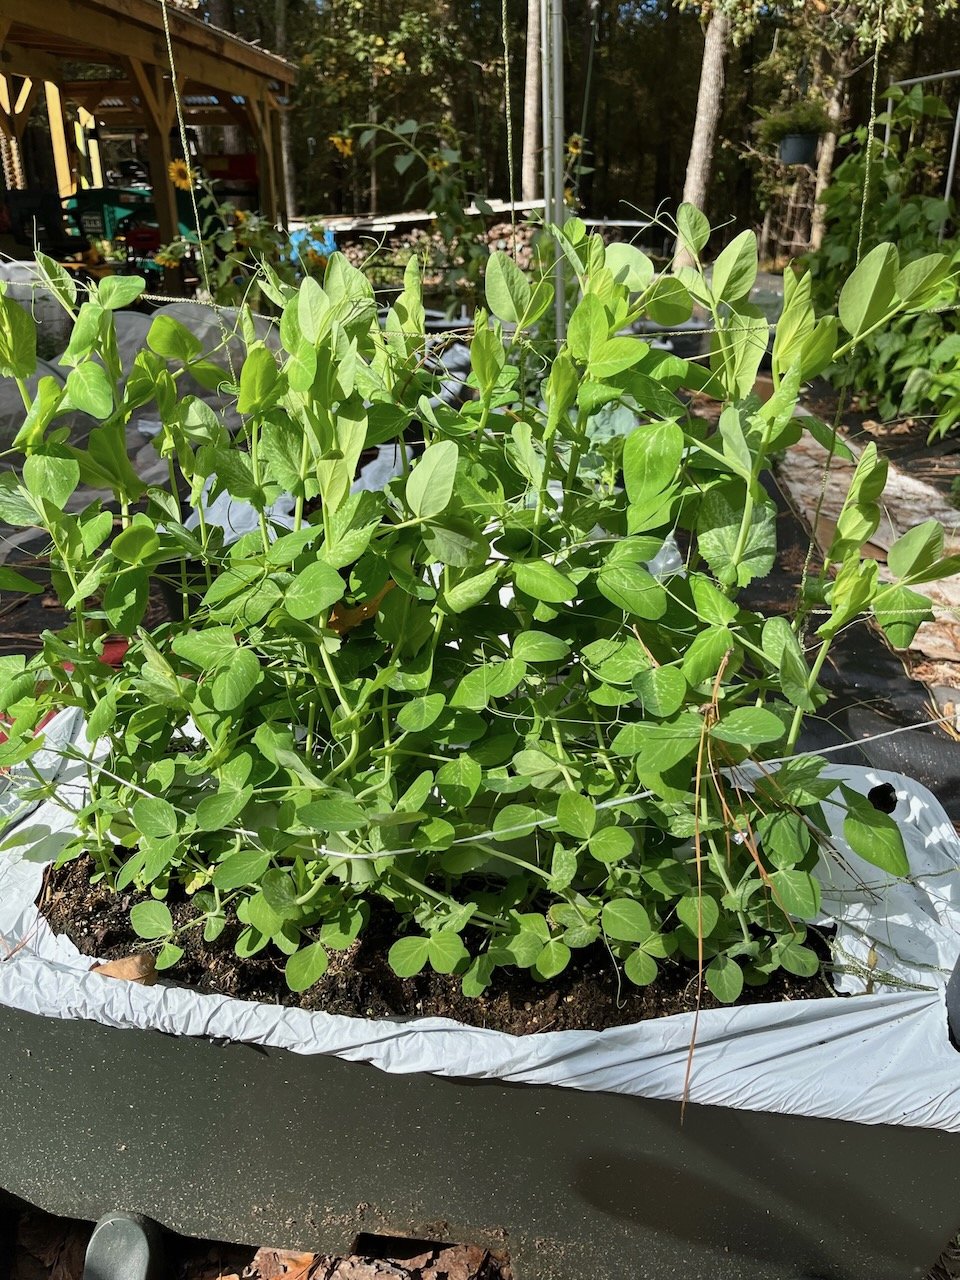
Snow peas growing in an Earthbox
After I picked the beans I checked on my snow peas. This year I have three Earthboxes planted with them. I usually plant sweet peas but this year I decided to try snow peas for something different. I can’t grow peas as easily in the spring because our spring-like weather seems to last about two weeks. Then it turns really hot, really fast and the peas don’t do well under those conditions.
I direct seeded the peas in the box and they were slow to get going. I think it was because our fall has been really hot; however, in the last two weeks we have had some really mild daytime temperatures and cool nights. The peas are happy and have taken off. I hope to see blooms very soon.
The cooler weather has also helped my broccoli, cabbage and cauliflower take off. They were looking very poor for a few weeks. They did not enjoy the warmer fall weather we were having earlier but now they are thriving. Most are planted in Earthboxes, but I have two plants in Michael’s “magic buckets”—at least that’s what I call them.
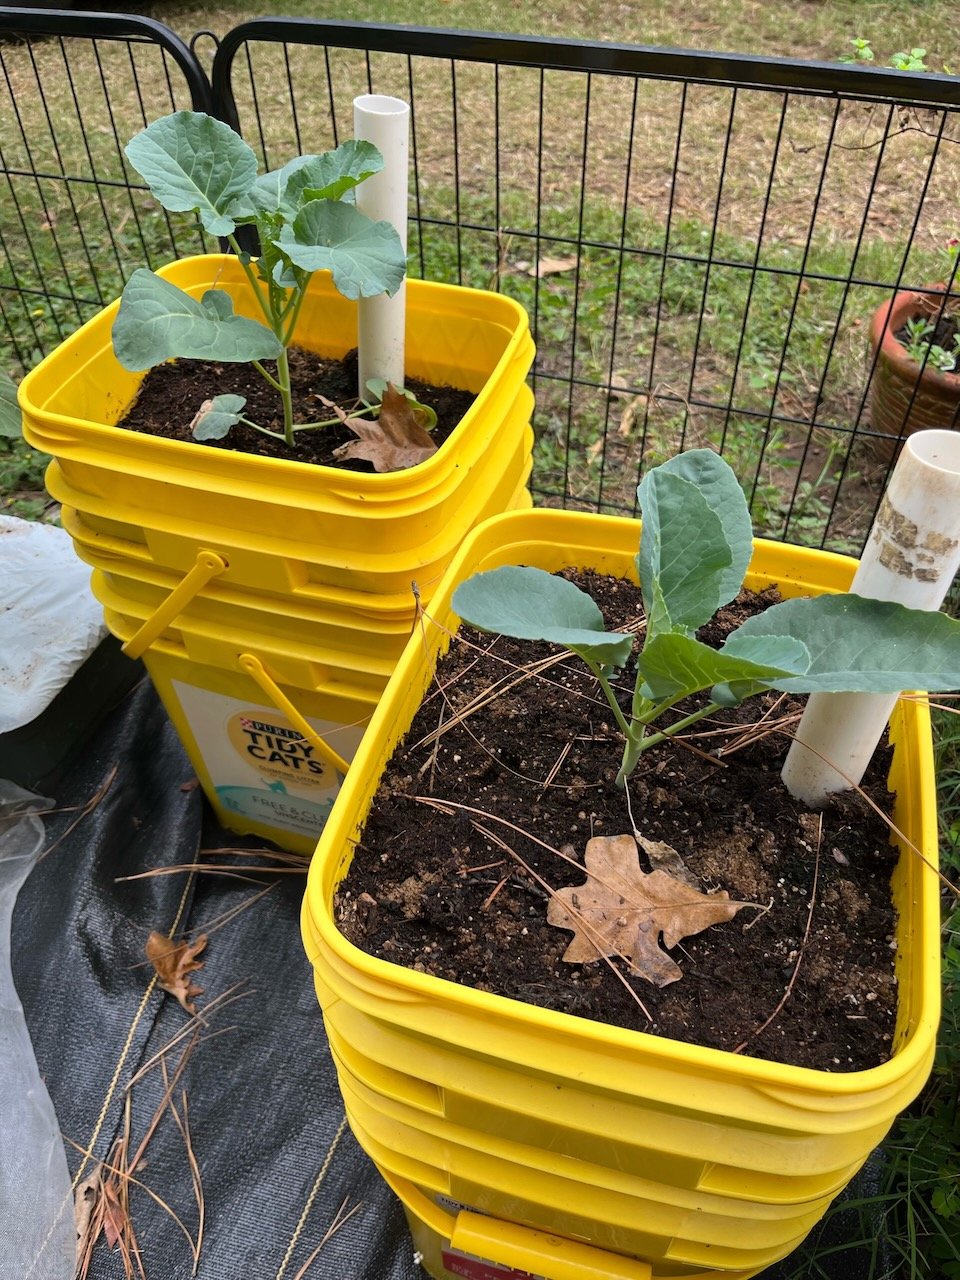
Grow buckets made from nested Tidy Cats packaging
This summer we had an abundance of empty kitty litter buckets and I was looking on the internet for some ideas on how I could repurpose them. I found several articles on making your own wicking containers so Michael and I decided we would give it a try. They have worked extremely well. This summer I grew tomatoes in them and they were by far the healthiest plants of my entire crop.
The carrot and beet plants I direct seeded are doing well and have sprouted. I will thin them when they get a little bigger. My strawberry plants are growing healthily and I did not lose a single plant. That’s pretty surprising when you think about it! They were shipped across the country and then transplanted and every plant survived. Shout out to Ion’s Nursery.

Red jalapeno peppers drying
I went out to my back garden (the garden destroyed by the deer) to get the last of my jalapeños. My original plan was to let them dry on the vine before harvesting but I noticed a lot of deer nosing around the garden this morning. I suppose they are hungry because they have been eating the leaves off the pepper plants. I don’t think the deer would eat the peppers but I did not want to take a chance. I’ve rolled the dice in the past and ultimately regretted it. I went ahead and picked them and will finish drying them in the dehydrator.
My biggest project today was resetting one of my Earthboxes to plant more carrots. This Earthbox previously had two tomato plants growing in it. The first thing I did was remove the old cover and then removed the top two inches of potting mix until I found the fertilizer strip. I do not throw out the potting mix as I will reuse this soil in the same Earthbox. Each Earthbox requires a pound of fertilizer placed in a strip about two inches from the top. This strip has to be removed before replanting to avoid salt build up in the soil. If you use organic fertilizer you do not have to remove it before replanting.
After removing the fertilizer strip, I remove another few inches of potting mix. Next I add one pound of dolimite lime. This will help add magnesium and calcium to your soil to help raise the ph and combat blossom end rot. Be sure to get dolimite lime, not agricultural lime. Agricultural lime does not contain enough magnesium to be beneficial to your plants.


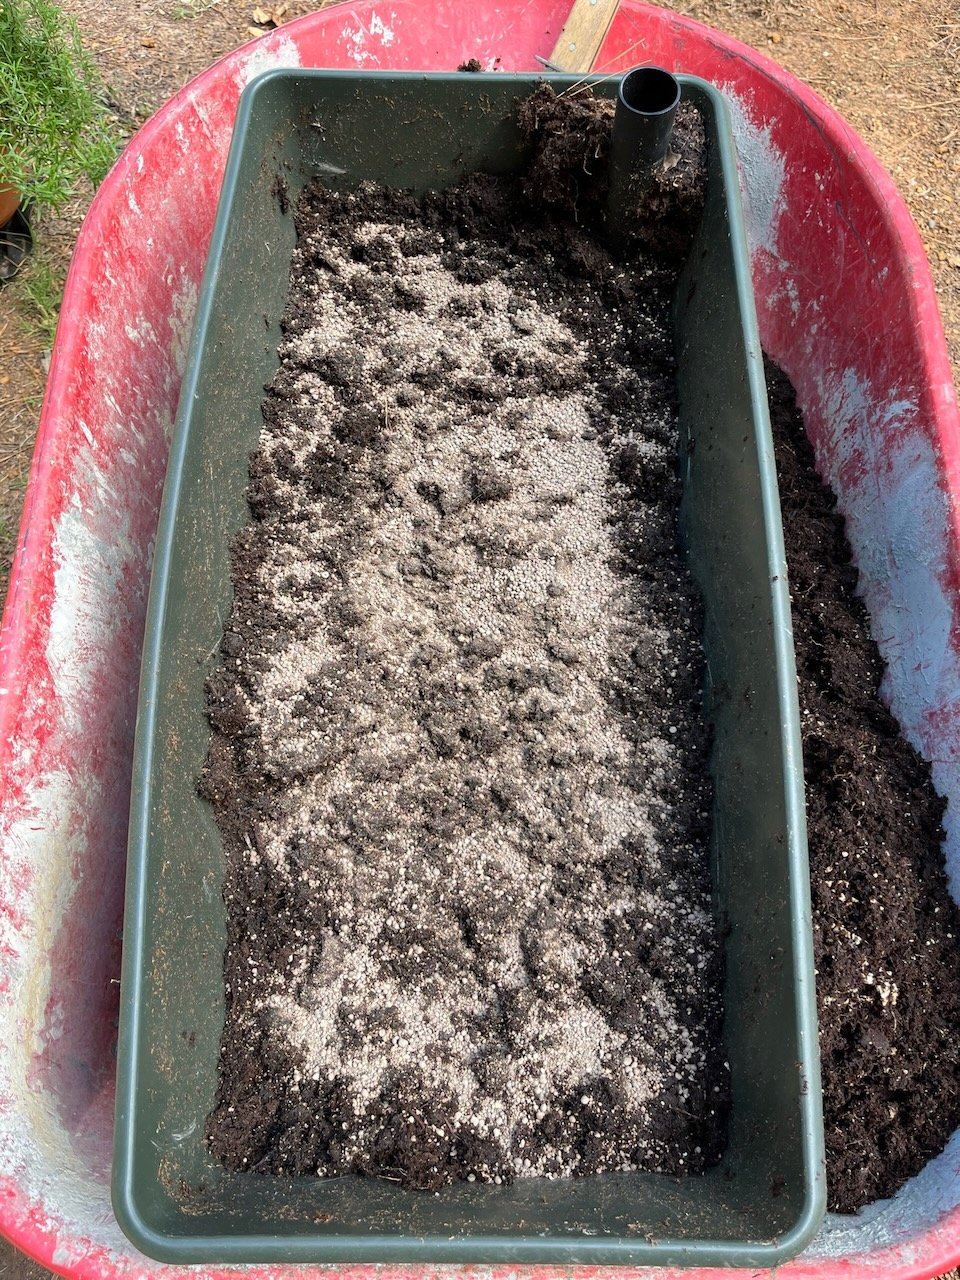


Once the dolimite is added, mix it into the soil. Next, add the potting mix back into the Earthbox until you reach the top of the container and make trough in the middle of the container. This will be your new fertilizer strip. Pour one pound of fertilizer into the trough. I am using 10-10-10 but you can use any fertilizer you choose as long as the NPK numbers are between 5 and 15. Once you have the fertilizer in the trough you can cover it up with the potting mix.
Now you are ready to mound up your Earthbox. Place the rest of the potting mix into the box until you have a 4 to 6 inch mound above the rim. This help with drainage when it rains.
The next step is adding the cover which kind of looks like a shower cap. This is important because it keeps pest out of the soil and helps to retain moisture, especially during the hot dry months in the summer. Once the cover is attached I will cut holes for the plants. In this case I am sowing seeds so I decided to cut long strips and sow the seeds in the strip.
The carrot variety I chose to plant is the Oxheart carrot. I think this carrot will be perfect for planting in a container because they will only grow 5-6 inches long but they have a larger diameter than tradition carrots. I will over winter these carrots and harvest in early spring.
All in all, I think last Sunday was very busy and productive. I expect the coming weeks in the garden will keep me just as busy and I can’t wait!